
Assembly guide
How to stretch your painting
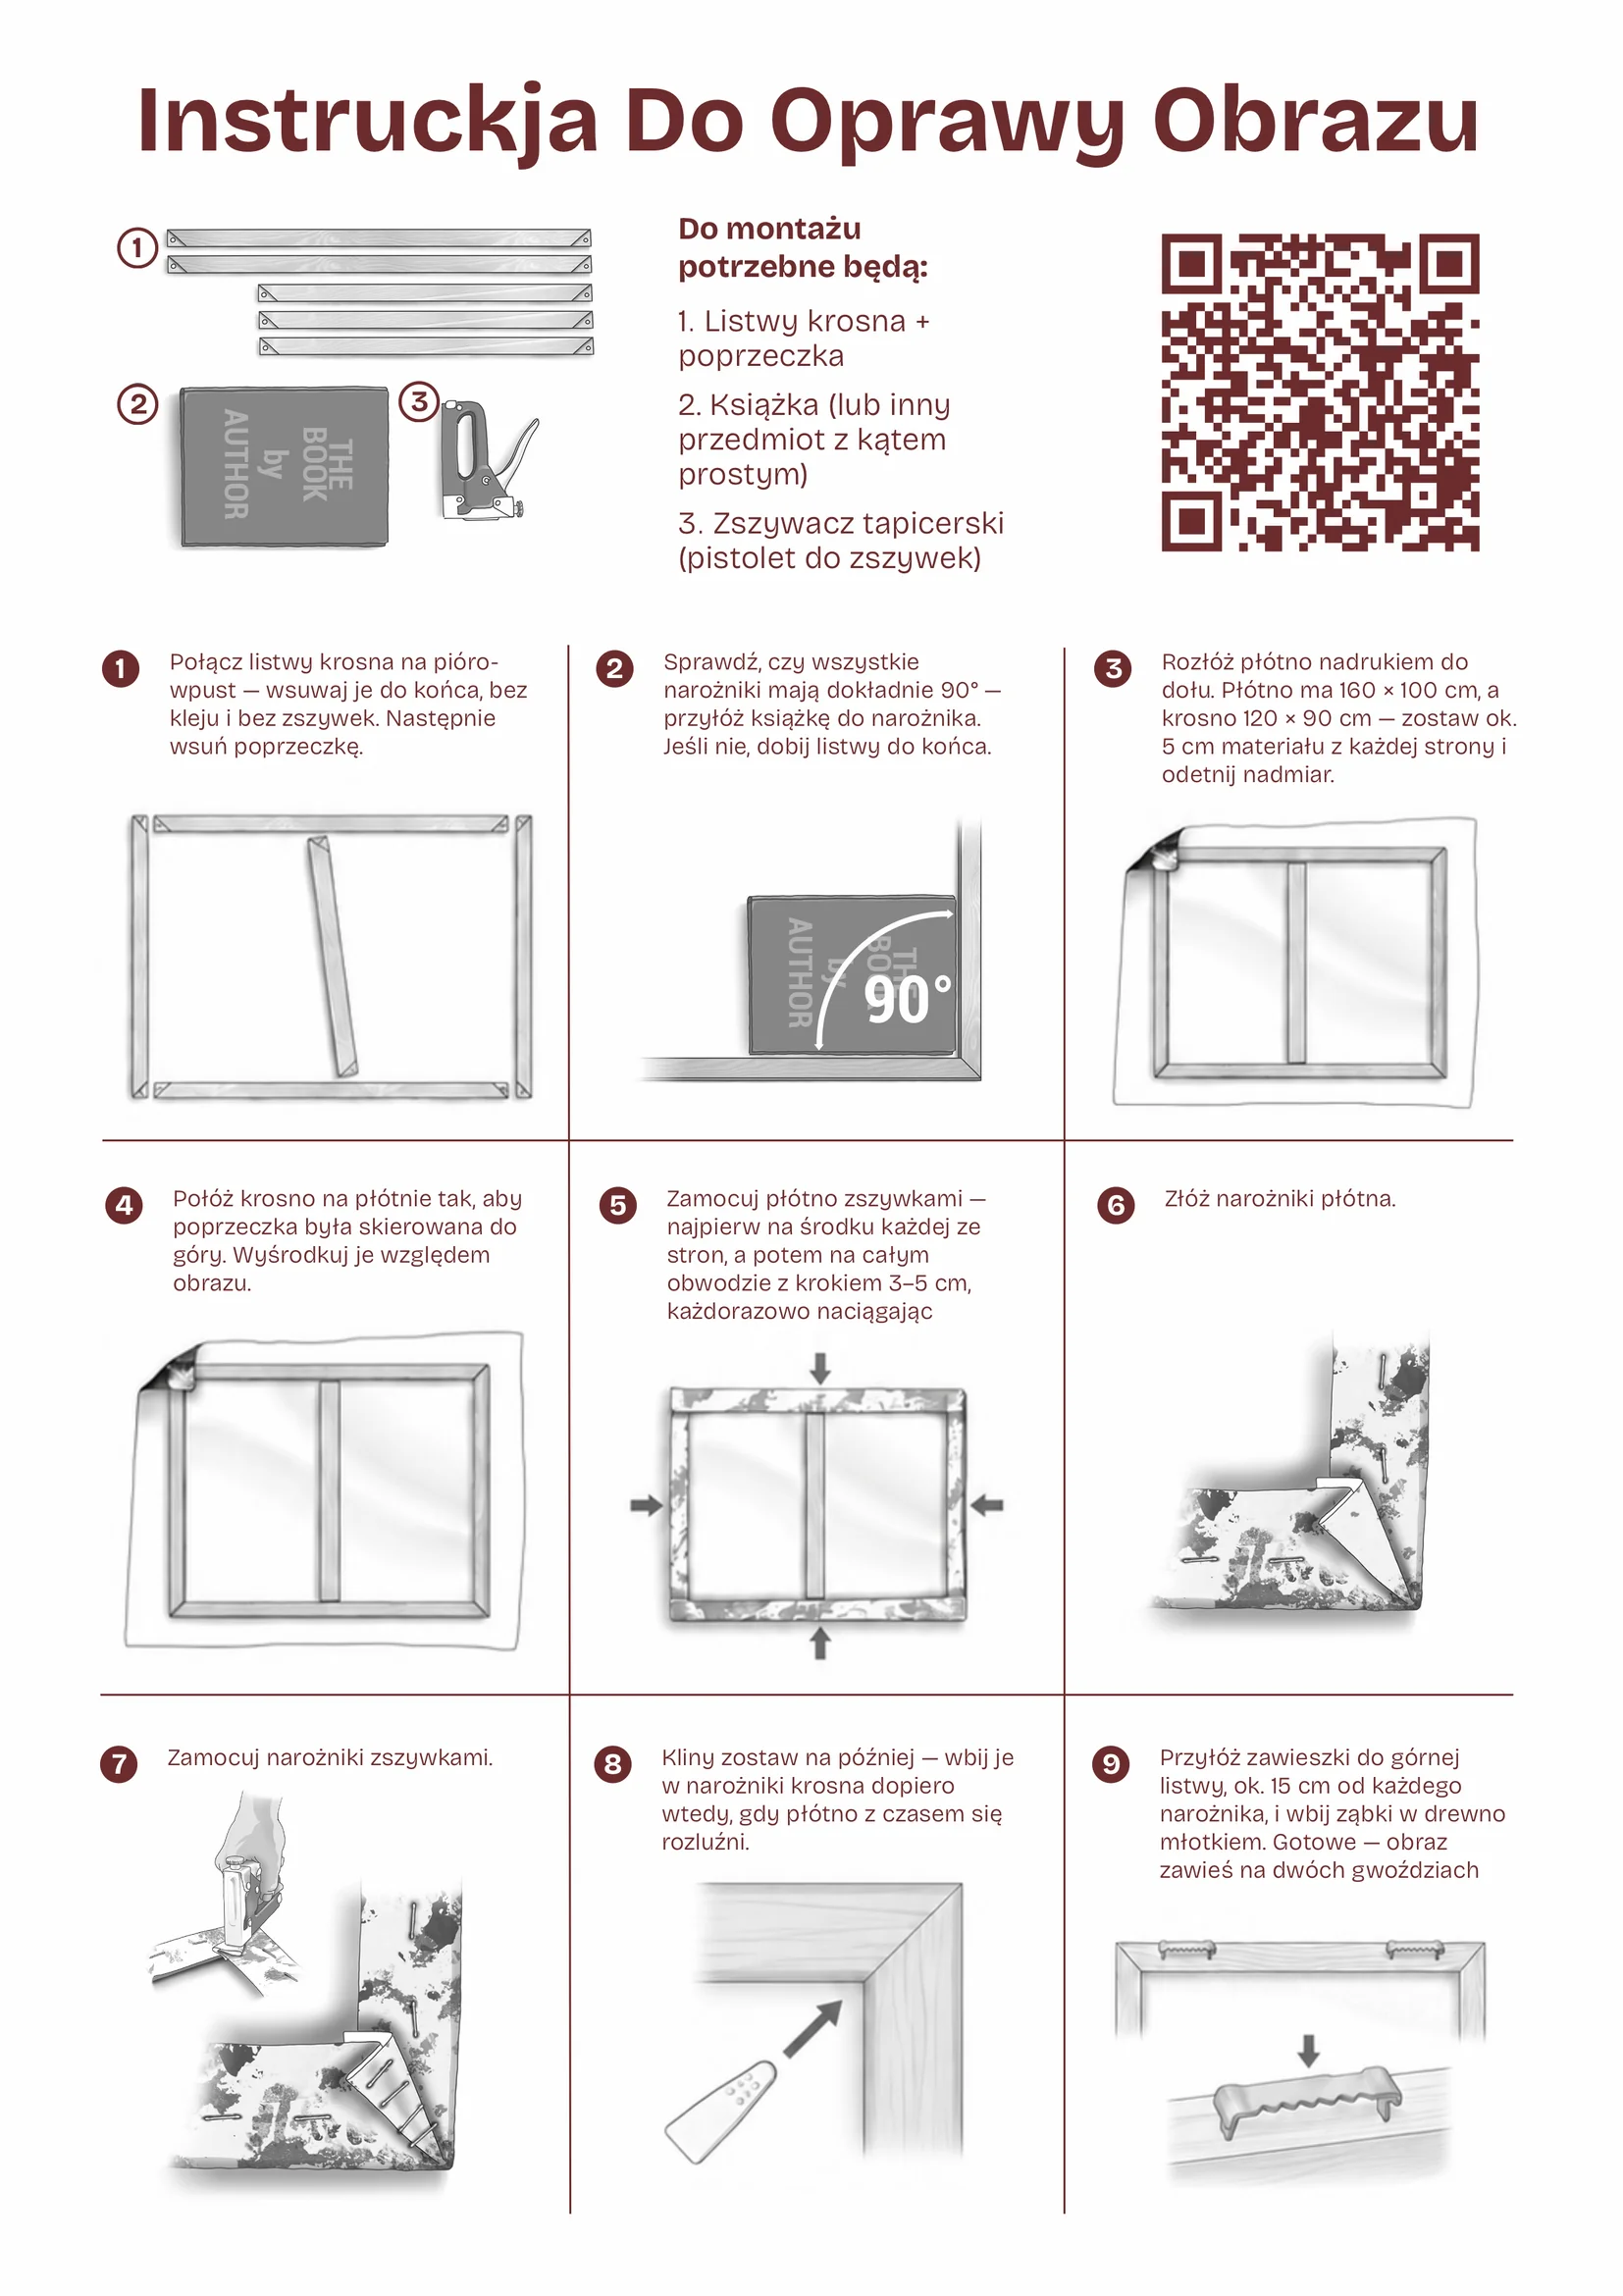
The painting is dry, the frame is in its box, and now the two have to meet. One afternoon is enough. Start with the video — forty seconds, from unrolled canvas to a nail in the wall. The same nine steps are written out below it.
What you need
From the box
- Four frame bars and the crossbar
- A staple gun with staples
- A bag of wedges
- Two hangers
From around the house
- A book — or anything with a right angle you trust
- Scissors, for the canvas overhang
- A hammer, for the hangers
- Clear some floor space for the 120 × 90 cm frame
Nine steps
The same order as the sheet in the box
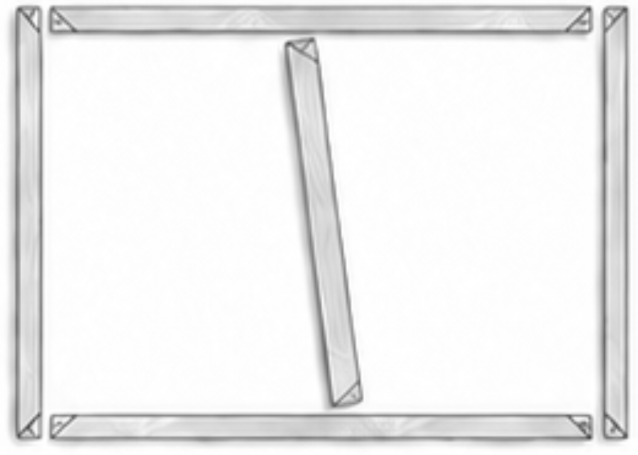
Push the frame together
The bars slot into each other tongue-and-groove, always all the way in. No glue, no staples. Slide the crossbar into the middle last.
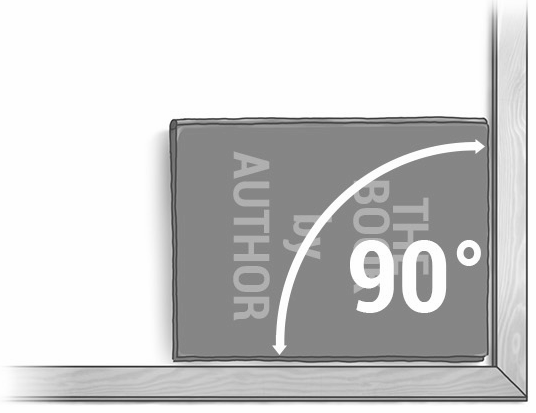
Check the corners
Every corner has to be exactly 90°. Hold a book against one from the inside. If a gap shows, push the bars further in.
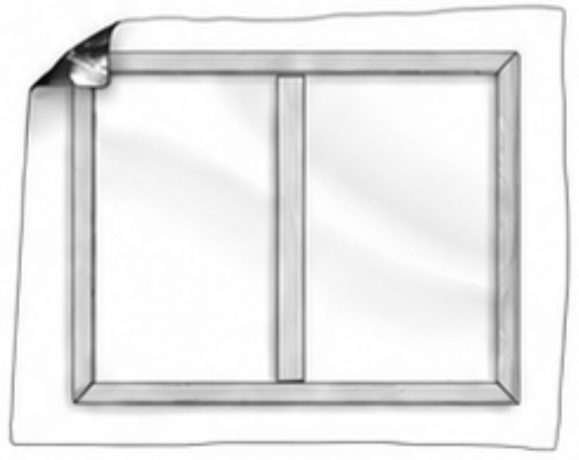
Lay the canvas out
Painted side down, on the floor. The canvas is 160 × 100 cm and the frame is 120 × 90 — leave about 5 cm all round to wrap with, and cut the rest off.
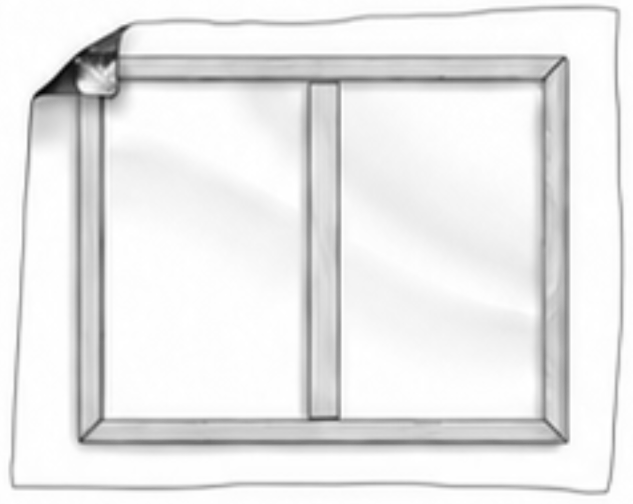
Position the frame
Lay it on the canvas crossbar side up and centre it. This is where you choose the crop — only what sits inside the frame ends up on the wall.
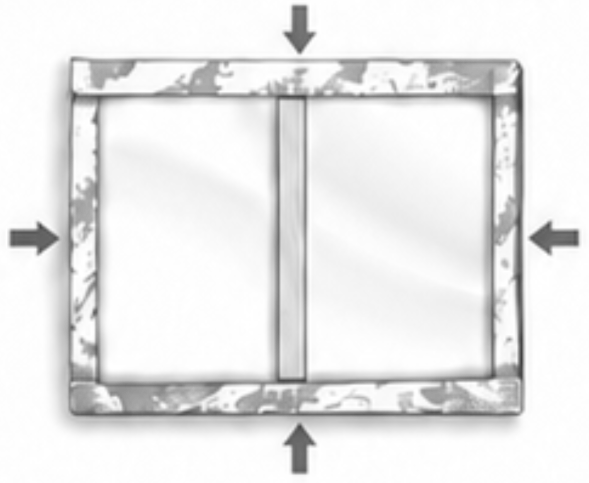
Staple the sides
One staple in the middle of each side first, alternating opposite sides. Then all the way round every 3–5 cm, pulling the canvas taut at every staple.
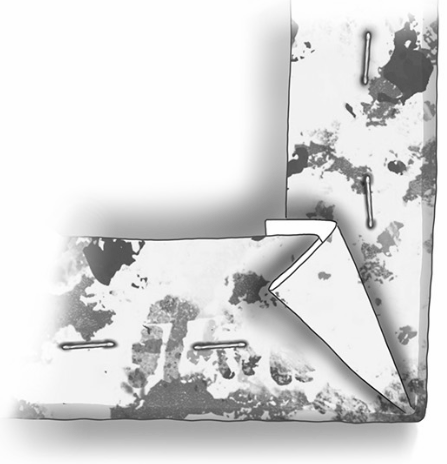
Fold the corners
Lay the extra fabric flat to one side — the way you fold wrapping paper.
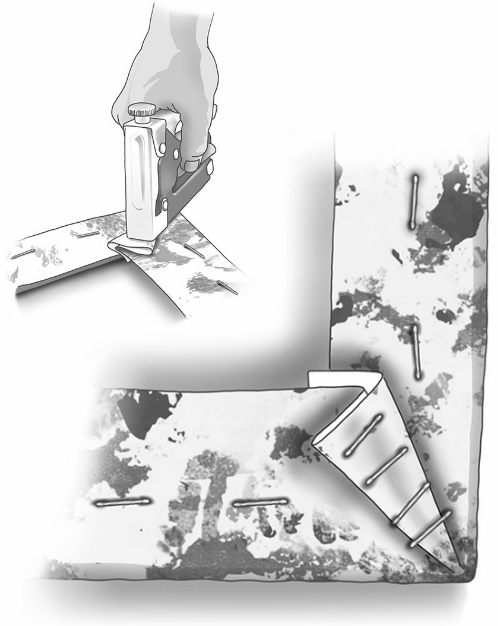
Staple the corners
Hold the fold down and drive a staple through it. Now, not earlier — a corner stapled before the sides cannot be fixed afterwards.
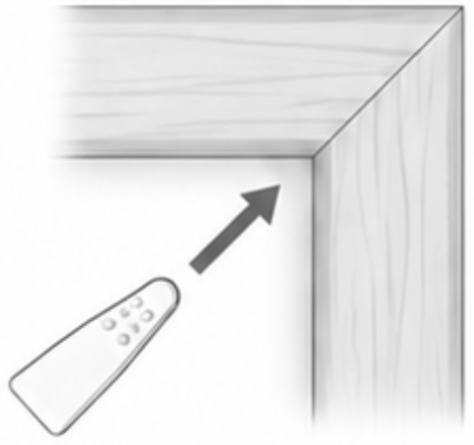
Leave the wedges
In their bag. They only go in if the canvas becomes slack after a few months. Tap all eight wedges in evenly, a millimetre at a time. Driven in on day one, the whole tension reserve is spent immediately.
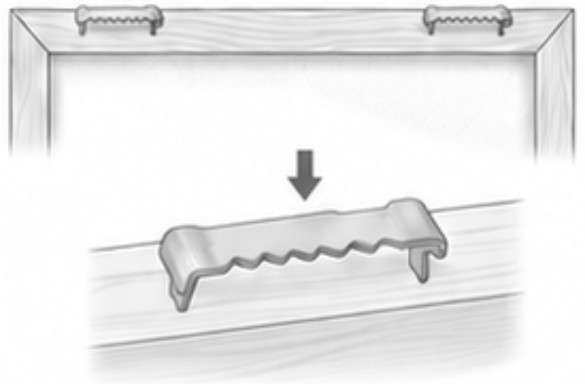
Hammer in the hangers
Into the top bar, about 15 cm in from each corner. The teeth go into the wood under a hammer. The painting then hangs on two nails — done.
The whole guide on one sheet
The same sheet that came with the kit. If it has gone missing, open it full size and print it — it is a plain A4 page.
The printed sheet is in Polish — the drawings show the same nine steps as above.
 Open full size
Frame kit for your painting
See what is in the kit
Something not working?
Didn't find your answer? Write to us at [email protected] — we're happy to help, that's exactly what we're here for!